

You have a pattern saved, a rotary cutter sitting in a shopping cart, and a supply list that keeps growing every time you scroll. The first cut hasn't happened yet, and the doubt has: which of these thirty items do you need before you start, and which ones can stay on the shelf until you know you'll use them?
That confusion is normal, and it comes from lists that mix three different kinds of purchase. Tools you'll use for a decade sit next to materials you'll use up on one quilt, which sit next to gadgets a confident quilter might add in year three. Separating those apart is most of the work, and the buying itself is easy in a sector that generated $5.3 billion across 38,137 U.S. businesses in 2025, according to h+h americas.
The other half of the work is knowing what each purchase does to the finished quilt. Batting alone changes warmth, weight, drape and how your stitches sit on the surface. Once you buy by function, quilting supplies for beginners stop being a checklist and become a series of small, explainable decisions.
What Should a Beginner Buy Before the First Cut
A first quilt needs five supply categories: cutting tools, fabric, batting, thread and needles, and pressing and marking notions. Two of those carry most of the finished result. Batting sets warmth, loft, weight and drape, and the thread and needle pairing decides whether the layers feed smoothly or fight you at every seam.
For the inner layer, choose a pre-cut package sized close to your top rather than a roll. An 80/20 blend stays flatter than a high-loft batting, feeds predictably under a domestic machine, and keeps much of cotton's hand.
The three-layer structure is why the list stays short. The Smithsonian's National Quilt Collection traces American quiltmaking across at least three centuries; the collection began in the 1890s with three donated quilts and now holds more than 400 quilts and quilt-related items made over roughly 250 years. Read that record as a beginner and the lesson is architectural: a quilt is a fabric top, an inner layer or batting, and a backing, joined by stitching. Fabric supplies the design, batting supplies the warmth and drape, and thread and needles have to suit the method you're using.
| Category | What It Does | Buy for Your First Quilt | Can Wait |
|---|---|---|---|
| Cutting tools | Cuts accurate strips and squares | Rotary cutter, cutting mat, 6 by 24 inch ruler | Specialty rulers, large mats |
| Fabric | Forms the visible top and the backing | Quilting cotton for the top, backing sized to the top | Hand-dyed or specialty prints |
| Batting | Forms the warm inner layer | One batting matched to project size and fiber | High-loft or premium wool batting |
| Thread and needles | Joins the layers through stitching | 50-weight piecing thread, 75/11 or 80/12 needle | Decorative or specialty threads |
| Pressing and marking notions | Keeps seams flat and pieces aligned | Iron, pins or clips, seam ripper, fabric marker | Gadgets and marking systems |
The buy-once list and the replaceable list
- Rotary cutter and a self-healing mat. Buy the largest mat your table can hold and store it flat. A mat left leaning against a wall keeps a permanent bend, and every cut after that fights you.
- One 6 by 24 inch acrylic ruler. It cuts strips from yardage, squares up quilt edges and handles the 45-degree markings on most long rulers. Specialty rulers come later, if at all.
- Fabric shears that only ever touch fabric. Paper dulls them faster than any quilt will.
- Pins or clips, plus a seam ripper. You'll use the ripper more in your first month than in your first year.
- An iron and a firm pressing surface, covered in the next paragraph.
- A marking pencil and a basic straight-stitch machine if one isn't already in the house.
The replaceables are a shorter list: rotary blades, machine needles, thread and batting. Those get consumed by projects, so buy them in small quantities until you know what you like.
The sorting test: if a tool affects the accuracy of a cut or a seam, buy it before the first cut. If it only speeds up a task you haven't started yet, leave it on the shelf.
A seam pressed flat is what keeps your blocks square, so the iron isn't optional. Ironing means sliding the soleplate across a shirt to remove wrinkles. Pressing means setting the iron down and lifting it back up, which is what you do to a quilt seam and especially to a bias edge that would stretch under a sliding iron.
Before you spend anything, walk through the house and inventory what you own. An existing iron, a pair of sharp scissors and a machine lower the starter budget immediately. Small sharp tools are worth buying once as a set, like the Quilter's Cutting Duo with Corey's Hook-N-Snip and tweezers, which keeps snips and tweezers within reach at the machine instead of buried in a drawer.
Which Batting Should a Beginner Buy First?
Batting is the middle layer of the quilt sandwich, the part you never see but always feel. Three filters decide which one goes home with you: fiber, loft and maximum quilting distance. Price and shipping speed are not on that list. Answer those three questions and the batting shelf shrinks to a couple of realistic options.
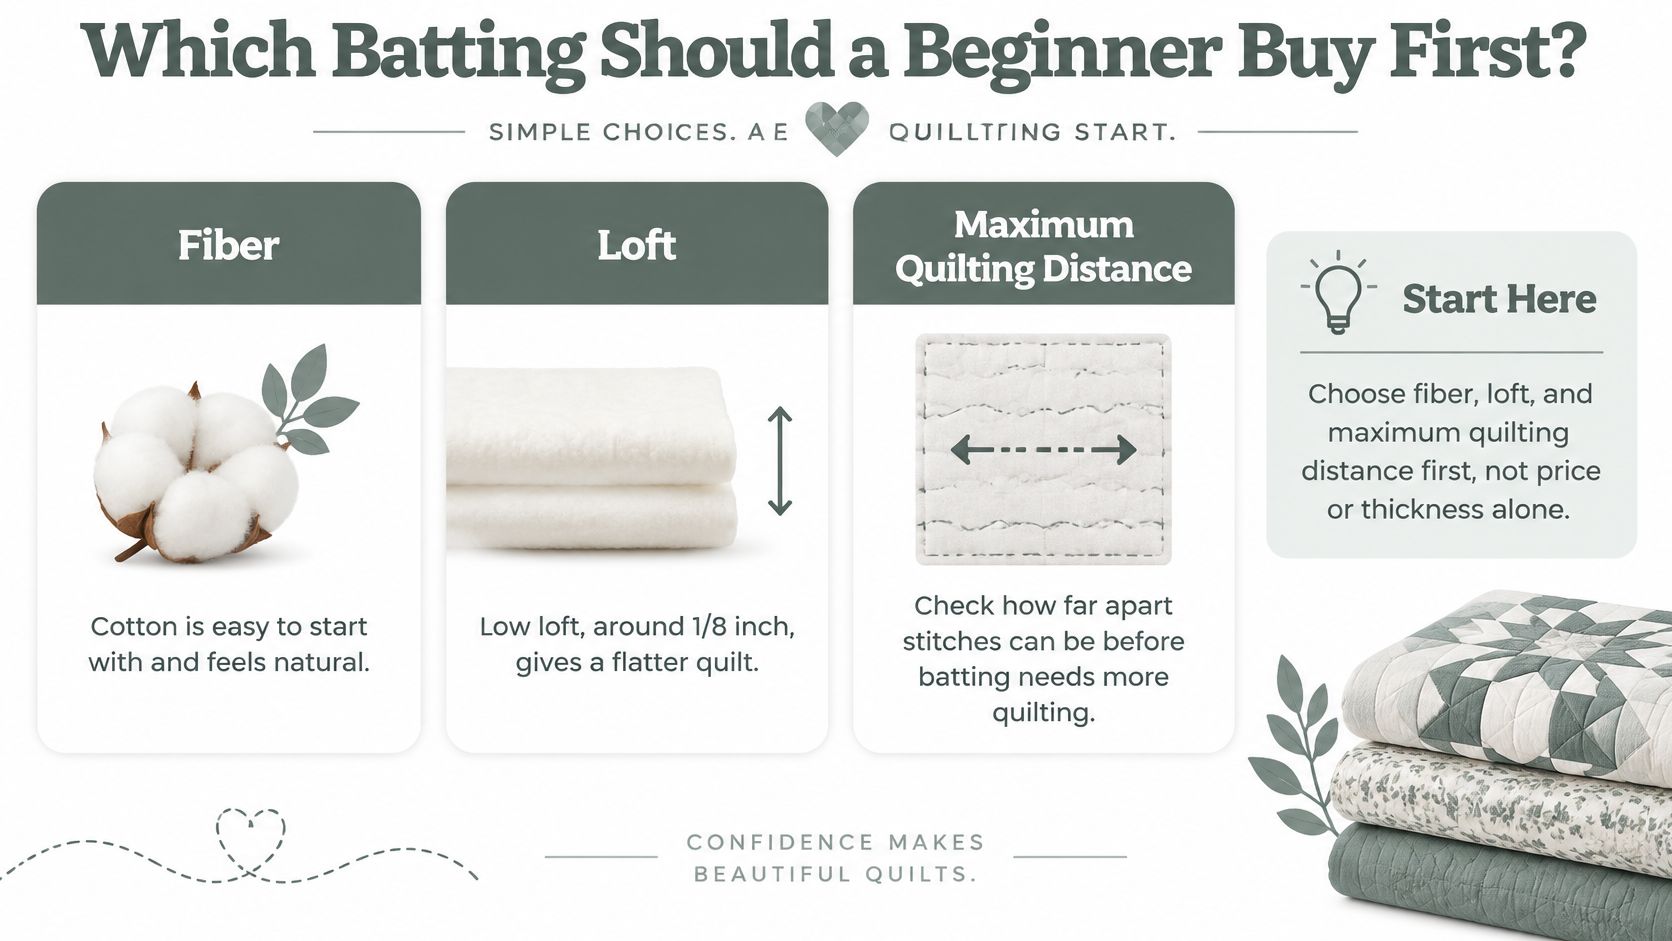
Loft is the thickness of the inner layer, and it works like the fill in a winter coat: more fill means more warmth and more bulk. Low-loft batting at about 1/8 inch gives a flatter quilt with crisp stitch definition and an easier drape, as this batting selection guide sets out, which suits a wall quilt, a table runner or a densely stitched first project. Higher loft traps more air, so the quilt comes out puffier and warmer, but it is harder to push through a domestic machine and the finished piece feels less fluid.
Fiber changes the same quilt in quieter ways. Cotton drapes flat and breathes. Polyester adds puff and warmth with less weight. Blends split the difference, which is why they show up so often in first quilts.
| Fiber or Blend | Typical Loft | Quilting Distance | Best First Project |
|---|---|---|---|
| 100% cotton, stabilized | Low to medium | Wide spacing tolerated | Table runner or flat wall quilt |
| 80/20 cotton-polyester | Medium | Wide spacing on many products | Lap or throw quilt |
| Polyester | Medium to high | Follow the package's stated limit | Puffy comforter-style throw |
| Bamboo/cotton without firm scrim | Low | Close spacing required | Crib quilt with dense stitching |
| Untreated 100% cotton labeled for microwave use | Low to medium | Follow the product's stated limit | Bowl cozy or potato bag |
Why stitch spacing decides your batting
Quilting density has to match the batting's construction. Stabilized cotton and blended battings often tolerate quilting lines as far apart as 8 to 10 inches, while less-stabilized cotton or bamboo products may need lines every 2 to 4 inches to hold together, according to Sewing With Ease's batting guide. Exceed the manufacturer's limit and the inner layer shifts or bunches, most visibly the first time the quilt goes through a washer.
Before you commit to a roll, read the exact product's maximum quilting distance, shrinkage and washing instructions, and allow extra batting as required by your quilting method or longarm provider. The Hobbs batting comparison chart lines fiber, loft and quilting distance up side by side so you can compare before you buy.
One-line rule: a flat, densely stitched quilt points to low loft. A warm, puffy quilt points to medium or high loft.
Which Batting Is Safe for Microwave Projects
For bowl cozies, potato bags and casserole carriers, buy untreated 100% cotton batting specifically identified for microwave use. Not a cotton blend, and not a batting described only as heat resistant. Many batting products contain polyester, which can melt, release fumes and in severe cases contribute to fire under microwave heat, as this Wrap-N-Zap batting guide warns.
Pellon Wrap-N-Zap is the 100% cotton microwaveable option in that lineup, sold as a 45 in x 1 yard package at $10.45.
Three checks before you cut:
- Confirm the fiber. It has to be 100% cotton and untreated.
- Confirm the intended use. The product page or label should state microwave use in so many words.
- Test a sample. Follow the product's heating instructions and your microwave's limits, then heat one finished cozy at a short interval before you trust the batch.
Batting alone isn't a guarantee. The finished piece also depends on the thread, the fabric and your microwave's wattage, so read the whole instruction set. Our Hobbs recommended-use spec chart shows how differently general quilt batting is specified, chosen by loft and quilting distance rather than by heat exposure.
Matching Thread and Needles to Your Quilt Sandwich
A needle that stitches cleanly through two layers of quilting cotton can start skipping stitches the moment batting goes between them. Needle size controls penetration, and the eye has to carry the thread without excess friction. Too small, and it abrades or shreds the thread. Too large, and it leaves visible holes and can damage the fabric. Denser layers add resistance, which is why the needle that handled lightweight cotton can fail on high-loft polyester or dense wool, as B Sew Inn's needle guide explains.
| Thread | Starting Needle | Typical Use |
|---|---|---|
| 50-weight piecing thread | 75/11 or 80/12 quilting, universal or Microtex | Ordinary piecing |
| 40-weight quilting thread | 80/12 to 90/14 | Machine quilting lines |
| Any thread through dense batting, wool or thick seams | 90/14 | Skipped stitches or a heavy sandwich |
Test the sandwich, not the chart
- Install a new needle.
- Set balanced machine tension and a moderate stitch length.
- Stitch a layered sample using the actual top fabric, batting and backing.
- Inspect both sides for skipped stitches, looping, puckering and thread breakage.
- Change the needle size or the tension and sample again before you touch the quilt.
A chart gets you to a starting needle. The sample decides whether you keep it, because fabric weave, batting construction, thread finish and machine timing all change penetration resistance. A basic straight-stitch machine is plenty for a first quilt, so the needle and the sample matter far more than the machine's feature list.
One spool can cover both jobs at the start. A 50wt cotton such as the 6730 Steampunk Aurifil Cotton 50wt Large Spool suits everyday piecing and edge-to-edge quilting, and it is made for smooth, low-lint runs on both longarm and domestic machines, so less lint builds up around the needle eye. We keep a compact reference on thread and needle selection if you want to go deeper on weights.
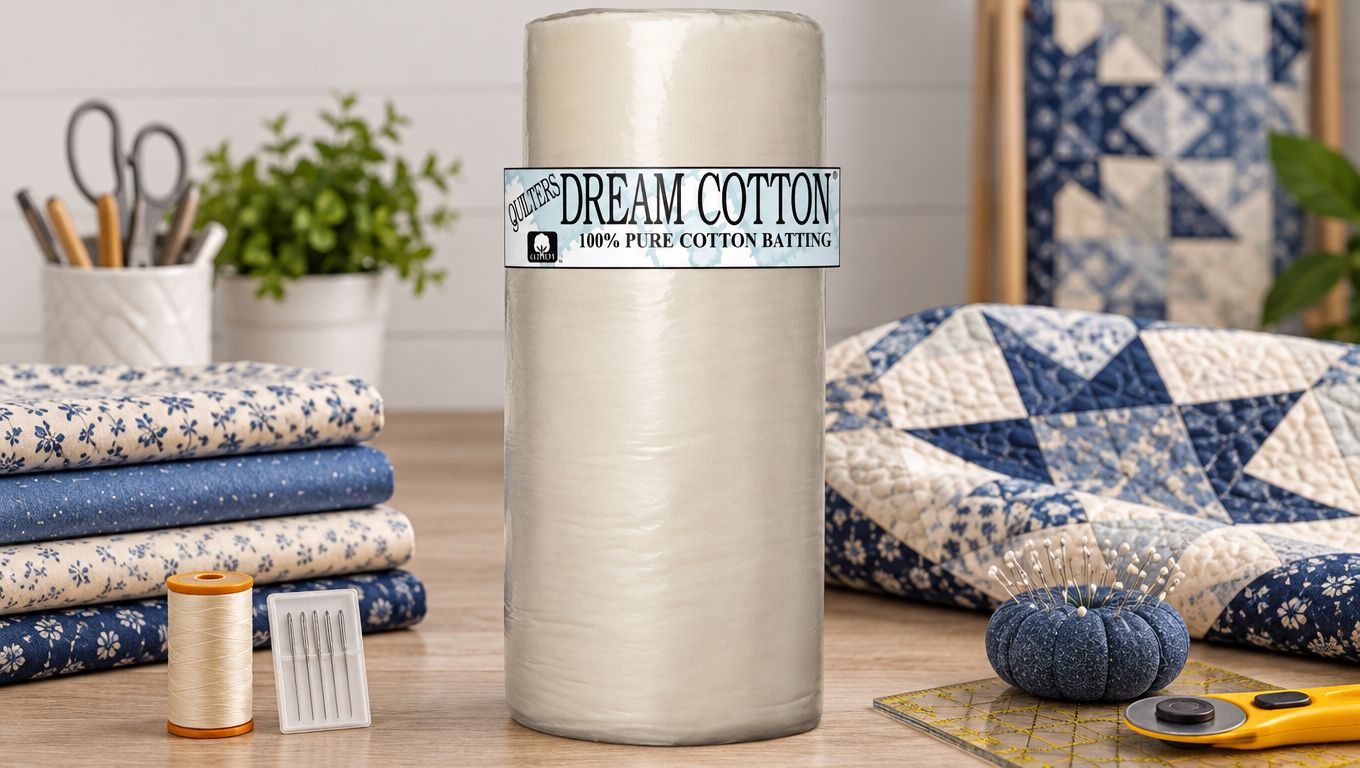
The batting belongs in that sample too, since two battings of similar loft can still resist the needle differently. Check the product's stated maximum quilting distance before you buy so your stitching plan matches what the batting was designed for. Then run the test on the batting you will use, whether that is a cotton roll like the Quilters Dream Request Natural Cotton Batting Queen Roll, 93 by 30 yards or a high-loft polyester.
How Much Will Your Quilt Shrink After Washing?
Plan for shrinkage before you cut. A 100% cotton layer can lose roughly 3 to 5% of its size in the first wash, which on a 60-inch finished quilt means about 1.8 to 3 inches in each direction, according to this batting comparison from Sewing Machines Plus. That gap decides whether a quilt still fits the crib or bed you made it for.
Cotton behaves like a new pair of jeans. The fibers were stretched and finished during manufacturing, then relax back toward their natural state once they hit water and heat. Blends shrink less because the polyester content holds its shape, and pure polyester barely changes at all.
| Fiber | First-Wash Shrinkage | Change on a 60-Inch Quilt |
|---|---|---|
| 100% cotton | 3 to 5% | About 1.8 to 3 inches |
| 80/20 cotton-polyester blend | Low, noticeably less than all-cotton | A modest amount |
| Polyester | Minimal | Barely visible |
Three habits limit the surprises. Cut batting and backing slightly oversize. Follow the manufacturer's washing directions rather than a generic routine. Trust the shrinkage specification on the exact product you bought over any fiber average, because finishing and construction change the result. Read that product's stated shrinkage and washing instructions before you decide how much margin to leave.
Prewash or don't, but decide on purpose. Prewash when the finished size has to stay predictable, such as a gift cut to a crib. Skip it when you want the crinkled, heirloom texture that cotton shrinkage creates.
Batting and fabric shrink at different rates, so wash the layered sample you stitched while testing needles and measure it before and after. Then allow extra batting as required by your quilting method or longarm provider, since both shrinkage and the quilting process consume material before the binding goes on.
Building a Starter Budget for Your First Quilt
A crib quilt, a throw and a queen bed quilt can all start from the same supply list, but they don't spend the same budget. Linda's 2026 beginner supply guide puts the entry-level kit at eight core tools covering roughly 90% of first projects, and treats a basic straight-stitch machine as sufficient. Notice what that does to the numbers: most of the spend goes to tools you keep, and only a small share goes to materials you use up. The variable that changes with project size is the batting format, so that's where the budgeting decision sits.
- Minimum-cost setup for hand quilting or a domestic machine means the buy-once tools, one pre-cut batting package, a spool of 50-weight thread and a pack of needles.
- A small gift quilt adds backing yardage cut to the top's dimensions but keeps the same package format.
- A full-size quilt calls for a roll, because you need continuous width for the top, the backing and the margin beyond both.
Package versus roll, in numbers
A 60 by 72 inch top with about 4 inches of allowance on each side needs a 68 by 80 inch batting and backing piece, which is roughly 2.25 yards of length on a 96 inch wide roll. A 30-yard roll therefore yields about 13 pieces of that size, so your cost per quilt is the roll price divided by 13. A crib top needs one small package and would leave most of a roll unused.
Enter current prices against those numbers before you choose. The Quilting Trends survey results, which drew about 20,000 responses from nearly a million emailed quilters, found 64% preferred local shops for supplies and 13% preferred buying online. If you're in the online group, the package dimensions and application notes on a product page have to do the work a shop counter usually does, so read them before checkout.
The same choice can be measured as landed cost per yard, and that math favors rolls once the per-quilt count climbs. For a single project, the Hobbs batting package sampler in bleached 80/20 Polydown, queen size removes cutting and trimming waste without a large upfront purchase.
Then spend in order, following the sandwich itself. Batting and thread come first, because they decide how the finished quilt drapes, puffs and washes. Backing yardage follows. Decorative extras come last, once you know which ones you'd reach for.
What Do Beginners Ask Before Their First Quilt
Do I need a walking foot for straight-line quilting? It solves a problem beginners blame on the machine. The feed dogs pull only the bottom layer forward, so the top of the sandwich can lag and pucker. A walking foot, also sold as an even-feed foot, works like a second set of feed dogs on top and moves all three layers together.
How much extra batting should I cut for a longarm quilter? That allowance is set by the quilting method and the provider, not by a universal rule. Ask your longarm quilter how much batting and backing overhang their frame requires before you cut.
Should I label my finished quilt? Yes. Write the quilt's name, your name and the date on a small fabric square, then fuse it to a back corner with Steam-A-Seam 2. It bonds permanently under the iron, and you can stitch around the edge without gumming up your needle.
Ready to Start Your First Quilt? Stock Up on Exact-Spec Hobbs and Pellon Batting
Choose the project size first, then follow the matching path.
Path A is the single small project. One packaged batting piece sized to match your top, such as Pellon bamboo/cotton batting with scrim in crib, throw or twin package sizes, paired with 50-weight piecing thread and a 75/11 or 80/12 needle. That gives you an inner layer for the quilt sandwich, and you still check the allowance your quilting method or longarm provider requires before ordering.
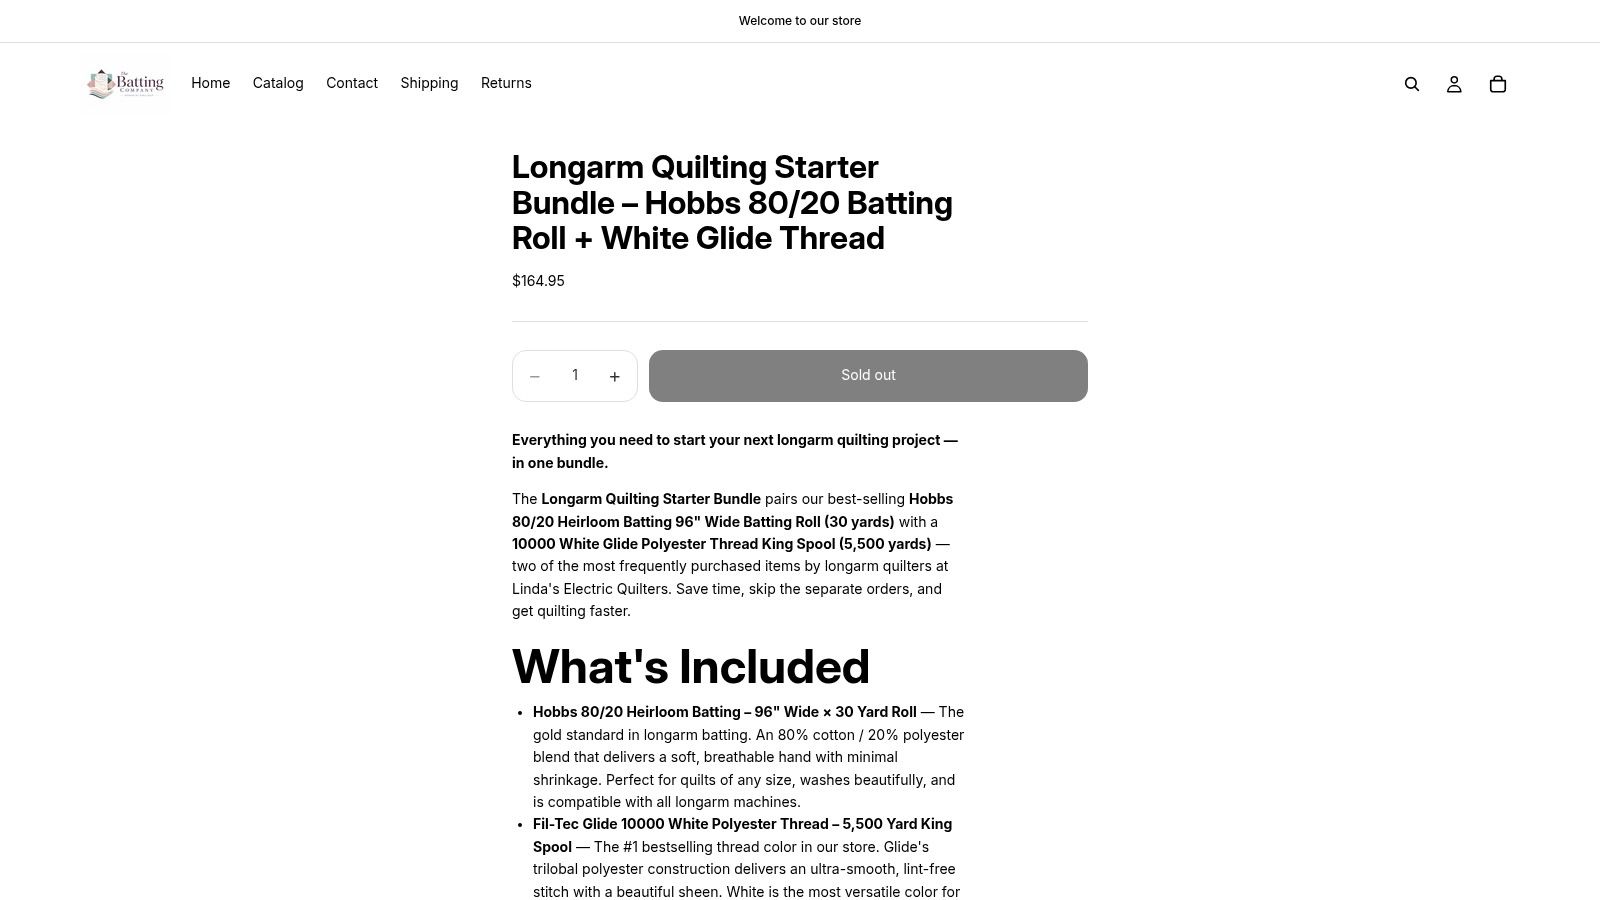
Path B is full-size, longarm or high-volume work. The Longarm Quilting Starter Bundle with the Hobbs 80/20 batting roll and White Glide thread pairs a 96 inch wide, 30-yard Hobbs Heirloom 80/20 roll with White Glide thread, which is the format worth buying once your cutting list runs past a couple of full-size tops.
Sew a layered test sample first. Wash it, then check the loft, the shrinkage and how the stitches sit before you order the full quantity.
The Batting Company stocks Hobbs and Pellon batting in packaged sizes and 30-yard rolls, with fiber, loft, quilting distance and washing details listed on each product page. Whether you're buying one crib-size package or a roll for a large quilt, you can compare exact specifications before you order. Visit The Batting Company when you're ready to match a batting to the quilt you're making.